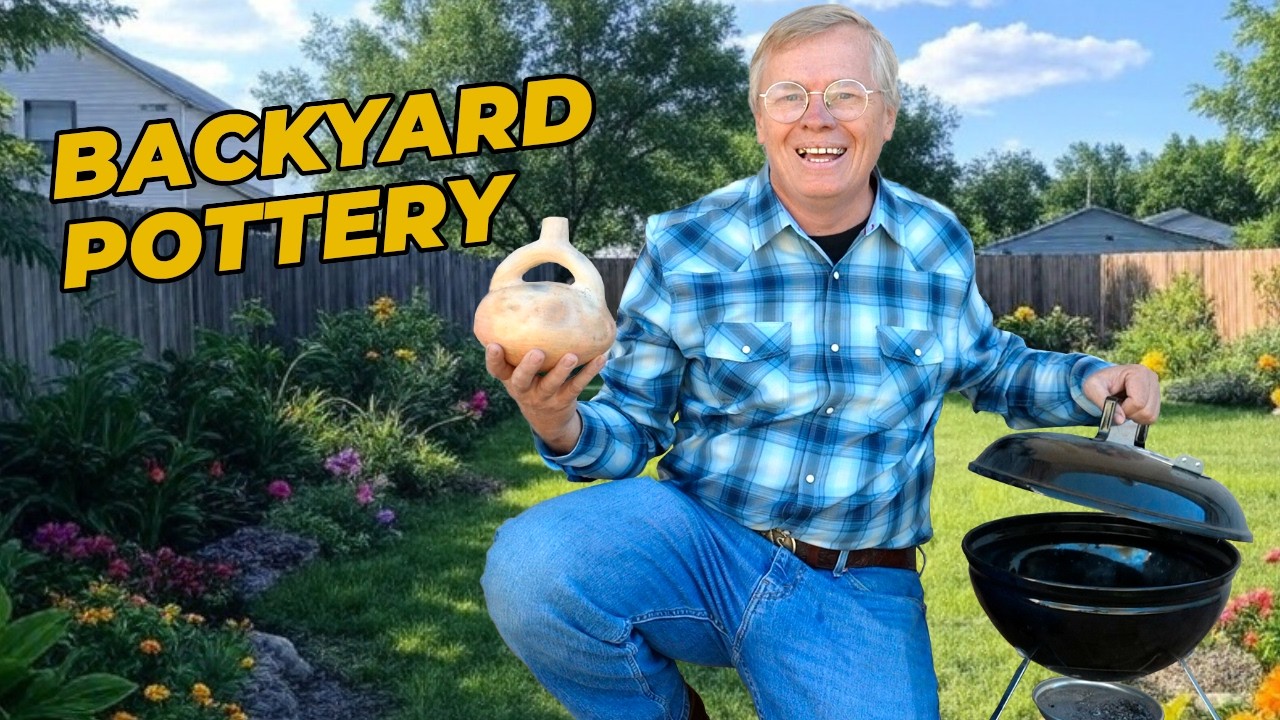
Backyard Kiln DIY: Pottery Firing with a BBQ

In which I make improvements to the barbecue grill pottery kiln and try again.
Check out my online class: Outdoor Pottery Firing 101
Tony Soares video
🏺 Wednesday Zoom pottery class –
❤️ Channel membership –
OR Patreon –
🛍 Shop my website:
📚 Workshops and masterclasses –
⭐️ Social media
Facebook –
Instagram –
📬 Send me mail
Andy Ward PO Box 43601 Tucson, AZ 85733
As an Amazon Associate I earn from qualifying purchases.
source


PSA: Galvanized steel lets out some NASTY chemicals when heated, definitely recommend using something else, at least do it outside, and try not to breathe any of the fumes.
Have you tried the sawdust firing method?
When you do dead wood firing you have a primary fire, set the pots on the coals, and build a secondary fire on top. Could you not try something similar with the coal? I think if the heat is coming from top and bottom you can get up to temp faster, plus the air flow will work better with convection from the hot coals on bottom.
Is there any way to raise the hight of he whole thing and put a fan feeding air into it, basicly make a black smith bellow.
I have a question about another video you did. In that video you used saw dust to mix into the clay to make it more porus, the pot you where making was an olla. Is it possible to replace the saw dust in that with flour? I don't have easy acces to saw dust.
Bolts with two nuts to replace the screws
using bolts and mounting them from the inside-out instead of the outside-in might result in less wobble, as the head against the metal could provide some stability
How does one replicate historical Greek black ceramic detailing?
With the bucket firings, keeping the vents at the bottom open (they get a little clogged) helps, and starting the fire at the bottom seems to help, too.
Perhaps a small fan blowing into a metal pipe at the bottom could help with getting more oxygen intake?
as blacksmit make sure your buck is not galvanized Zinc is the coating used on galvanized metals and, when you heat the metal, it produces vaporized metal droplets, which are called “fumes.” This is the smoky haze that consists of fine particles of metals or silicates. and you don´t want that is potent as sob
Thanks so much. I would love to see a fireplace firing video. I have an enormous fireplace in my cabin. Maybe it could be adapted to firing my pots made from the clay on the property.
Adding a 4-6 in smokestack to the lid about 2 feet long should increase the airflow. Could make it even taller if needed. Some extra air holes drilled in the bottom. Should work even better.
I have had good luck firing small pots and bowls with one of those grill style metal fire pits. It is about two feet across, and 8 or 10 inches deep. I build my fire in it just like you do for ground firing. Unlike the grill there is no lid, so it gets lots of air flow. I usually get a good firing in just a few hours.
I love your channel! I have learned to make my own pottery from local clays thanks to your videos. Thanks so much for the great information.
the other real big difference i see is that the metal material reflects the heat and creates a chimney …but doesn't have the thermal mass to keep it hot
What about a metal drum/barrel?
I fire on my apartment patio with just a tin bucket like you used, with holes punched around the sidewalls of the pale, near the bottom. Cover my pot with charcoal and let it do its thing. Have achieved really high temps 1100F or better this way.
A lot of people say that's the worst charcoal to use for anything.
I think there is a market for "cheap" flat pack style kilns, pizza ovens, blacksmith forges ect. technology has come along way we now have fire resistant "plywood like" boards and kale wool.
Like others have said add a pipe under the bucket and put an old, cheap, goodwill purchased hairdryer on the end of it to add air. Also I hate saying this, but did I see a hairline crack at the joint between the main pot and the "U" part of the stirrup, where the slip connects the two together? If I did, it probably happened because the thermal difference between the air cooled neck and the fact that the main body of the pot was still in the coals. (My uneducated W.A.G. guess.)
You can also make a simple kiln from the same materials that those guys use who are smelting metal. It insulates the heat much better so you will get far higher temperatures. The metal from a BBQ transfers a lot of heat away from the pot. If the heat would have been sufficient enough it probably would have burned through that flimsy BBQ.
Would the bucket's zinc coating be a problem? I was always taught that you shouldn't heat up galvanized metal. I guess it wouldn't be an issue as long as it's outside and you aren't near it when it's firing.
I just wonder if a barbecue just doesn’t hold the heat enough to maintain the temperatures necessary. Plus, is the pot you burned safe because the galvanized bucket you used wasn’t burned out first?
That bucket appears to be galvanized. Getting it up to firing temps will likely cause it to put off extremely toxic fumes.
What temperature were you able to get to with the charcoal?
Andy, have you ever tried saggar type firing methods? I mentioned in your recent live video that I had done a number of firings this past winter here in Illinois. One of my most successful firings involved wrapping the two greenware pieces tightly in aluminum foil and then paper towel that had been dipped in a clay slip (sort of like paper mache). That then was allowed to dry for a day or two before the firing, went through the oven preheat and then into the fire. I was pleasantly surprised to have success with this experiment. Also… in the case of that particular firing I left everything under the ashes and a galvanized tub until late afternoon the following day!
Excuse me but I just can't ignore that wonderful stirrup vessel that you fired. What's the story behind that?
That pot looks awesome! Another great video
Cool video Andy! The ending had me cracking up good. 🤣
Suggestion to make the bucket hold in place better:
Use the BBQ's top lid.
put the bucket on top of the lid, and mark on the lid a circle that goes all around the bucket's rim.
then make another circle a bit smaller, (maybe half a centimeter smaller radius?)
small enough to be just a bit smaller than the bucket without said rim,
and cut that part out.
Then put the bucket inside the BBQ's lid, and pull it out of the hole. So the bucket's rim holds it snuggly inside what's left of the lid.
Then you can fix them together, with bolts or something similar.
If you don't damage it too badly, maybe you can even still use what's left of the lid to cap the top of the bucket.
Also yeah, looks like you need way more holes.
Or a fan, or bellows.
I wonder if you connect a foot pump for inflatable mattresses to the bottom, if the plastic tube would melt or not.
Well, good luck next time ^.^
I think, possibly, you are losing too much heat out the side of the bucket. No insulation.
With less heat I think the charcoal burns slower.
For those who live in a city or live where there is a no burn area consider joining one of Andy’s field classes where they do group firings. You will meet some great people too.
Those need to be burnt before using, and take the metal legs off. You need to put wood under and all the way around. Then just let it burn..
I fire in a BBQ grill doesn't take very much time, and I don't use to much fuel…