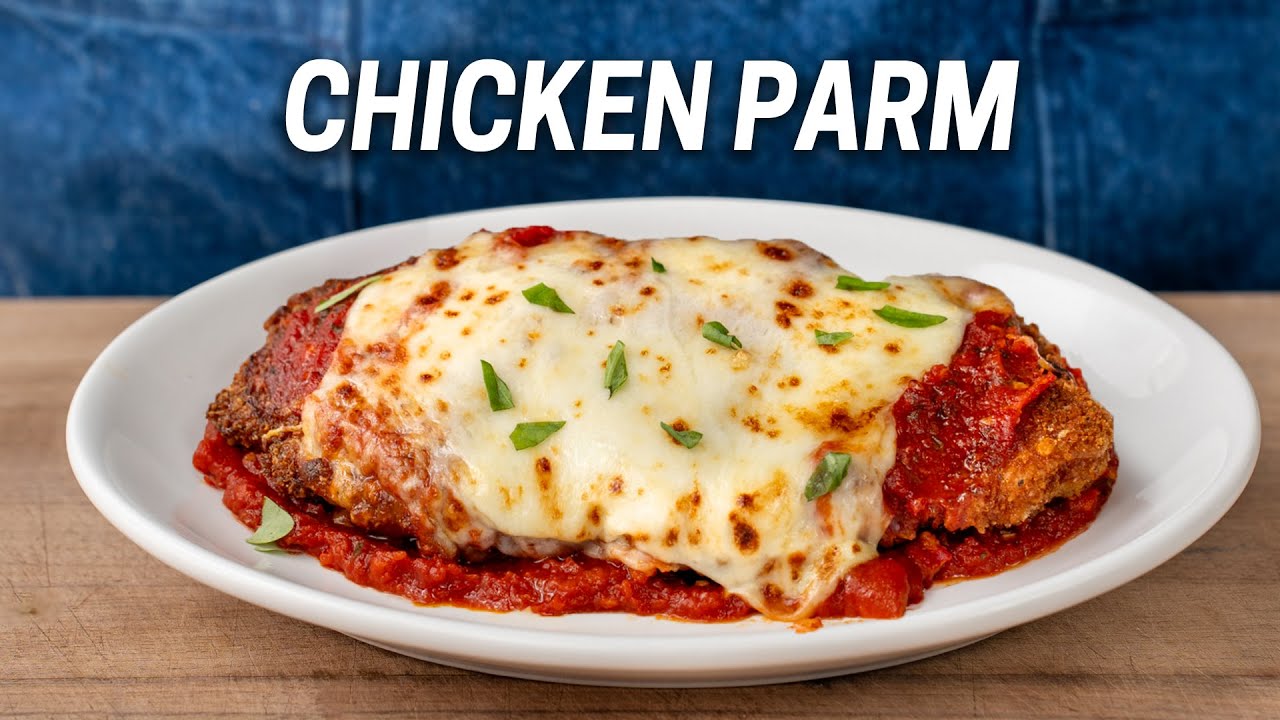
How to Cook Chicken Parm Like a Pro

You can get my favorite cookware from Made In today with a 10% off discount on your first order over $100 using my link –
▶️WATCH NEXT:
CHEESY STUFFED SHELLS:
☕Like this content and want to show support? Buy me a “coffee” here:
📸INSTAGRAM:
🔪MY GEAR:
CUTTING BOARD:
3QT SAUCIER:
12″ FRY PAN:
IMMERSION BLENDER:
QUARTER SHEET PAN + RACK:
EIGTH SHEET PAN(for breading station):
LAGERSTROM 8″ CHEFS KNIFE:
AMAZON STORE:
**As an Amazon Associate I earn from qualifying purchases**
*Ingredients*
CHICKEN:
∙340g (2) chicken thighs (6 oz each)
∙Salt
∙125g (1c) all-purpose (AP) flour
∙2 large eggs, beaten
∙75g (1c) panko breadcrumbs
∙75g (¾c) grated parmesan cheese
∙2g (½t) black pepper
∙2g (½t) salt (for breading mixture)
∙200g (1c) olive oil (for frying)
∙2 slices provolone cheese
∙6 slices fresh mozzarella (approximately 60g/2 oz)
∙30g (¼c) grated parmesan cheese (for topping)
MARINARA:
∙Olive oil
∙30g (6 cloves) minced garlic
∙25g (2T) chopped Calabrian chiles (sub with 2–3g dried chili flakes)
∙75g (5T) tomato paste
∙800g (28 oz) can of crushed tomatoes
∙20g (5t) sugar
∙10g (3t) salt (for marinara sauce)
∙10g (2T) fresh basil, chiffonade
Instructions
Prepare the Chicken:
1. Season both sides of the chicken thighs generously with salt. Let rest for 10 minutes.
2. Place thighs in a freezer bag, one at a time, and pound it gently with a saucepan until it is about 7–8 inches long, 3 inches wide, and ½ inch thick. (20cmx7.5cmx1.25cm)
Bread the Chicken:
1. Prepare three trays: one with flour, one with beaten eggs, and one with a breadcrumb mixture (panko, parmesan, pepper and salt – mixed).
2. Coat each thigh thoroughly in flour, shaking off excess. Dip in beaten eggs to coat, ensuring no dry spots remain. Finally, press into the breadcrumb mixture, packing the breading tightly so no chicken is showing. Repeat for both thighs.
Rest the Breaded Chicken:
1. Place the breaded cutlets on a wire rack and refrigerate for 30 minutes to ensure the breading adheres during frying.
Make the Marinara Sauce:
1. Heat a sauce pan over medium heat and add olive oil (~15g).
2. Add minced garlic and chopped Calabrian chiles. Cook until garlic is soft and fragrant (~3–4 minutes).
3. Stir in tomato paste and cook for 60 seconds until it deepens in color.
4. Add crushed tomatoes (blended lightly with an immersion blender for a smoother texture), sugar, and salt. Simmer on low heat for 15 minutes until thickened.
5. Chiffonade basil. Turn 90 degrees and chop again. Stir in off heat.
Fry the Chicken:
1. Heat 200g/1c of olive oil in a large sauté pan to 350–375°F (177–190°C). Lay the breaded chicken carefully in the hot oil and fry for ~2 minutes on the first side until golden brown. Flip and fry for another 90–120 seconds.
2. Transfer fried cutlets to a wire rack.
Assemble the Chicken Parm:
1. Spread ¼ cup marinara sauce over each fried chicken cutlet.
2. Place 1 slice of provolone cheese and 3 slices of fresh mozzarella on each cutlet.
3. Sprinkle with grated parmesan cheese.
Broil or Bake:
1. Place cutlets under a broiler set to high for 3–4 minutes until the cheese is melted, bubbling, and browned. (If no broiler, bake at the highest oven setting for 6–8 minutes.)
CHAPTERS:
0:00 Prepping and breading the chicken
2:58 Marinara
4:22 Get yourself 5 ply
5:36 Finishing the marinara
6:53 Frying the chicken
8:12 Building and finishing the chicken parm
🎧MUSIC:
EPIDEMIC SOUND
#chickenparm #chickenparmesan
source

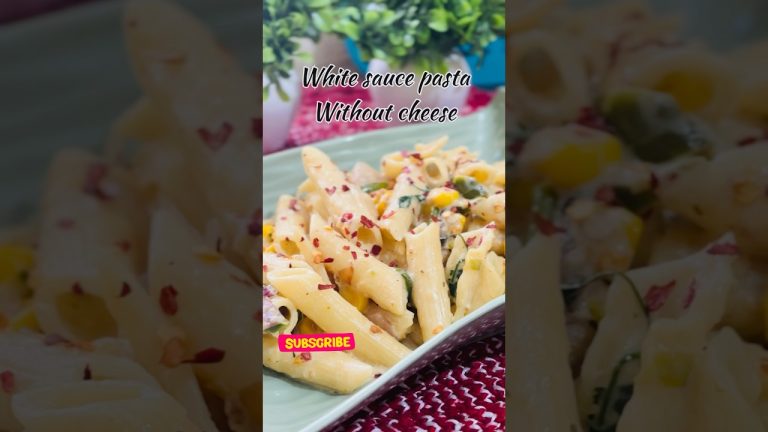
No flabby cheese or breading that slides off when you cut into it here, gang!
Check out the Stainless Collection and Made In’s other cookware being using my link to save on your order – https://madein.cc/0125-brian
Hey Brian,
Try frying your schnitty in GHEE for a decadent, nutty flavour.
You're welcome! ❤🇦🇺
you make everything look easy
Excellent recipe! I used gluten free flour and breadcrumbs for my wife and the outcome was still the best chicken parm we have ever had!
BRI!!! I Never take time to comment, but this chicken parm was AMAZING ! Family said it was the best parm they have ever eaten including restaurant meals ! Your instructions are clear and concise and I love the education you provide while describing the steps . Prize winner ; well done and thank you 🥰
CP is a FAVE. THANKS MUCH BRIAN !
The reason the saucier you used on the line is no where near as nice as the Made In pan you're using in this video is because that's a ~$200 saucier, not a set of them, just that one pan.
Made this yesterday and it was incredibly good! Calabrian chili convert now over just the flakes, the depth of flavor and fruitiness is “goated” as the kiddos would say
Brian,
Forgive me if this has been addressed before, but when you say ‘Olive Oil’, do you mean Extra Virgin Olive Oil. If not, can you clarify?
I absolutely love your channel……Also my Made-In pan set.
Thanks for everything !!
I made this came out amazing! You turned a bad cook into a fabulous cook.
Thanks for this one, Brian. We just did the fried chicken part and put it in a roll with salad and cheese and it was AMAZING! 😀
dude i just made probably the best chicken parm ever, seriously.
Hey Bri – totally DOPE as usual. I have a small suggestion. Adding white sugar to a tomato sauce is dereliction of duty. Instead, add a few splashes of balsamic vinegar – dark or I use white to keep red tomato color. You get a little sweet and a bright acid boost.
This dish violates the culinary rule that forbids putting something liquid on top of something crunchy. Doing so kills the crunchiness.
Too much work for too little bite
Ill do it for you… LETS EAT THIS THING!!!!!
I noticed in your One Pot Beef Stew recipe (2 years ago) you have a thick oven pad in your oven. What is that product. Please advise. Thank you. PS My family is really enjoying your recipes. They think I am a genius. Don’t tell on me.
I’m literally scarfing down chicken parm that my mother-in-law made, and I scrolled through to this! Thanks for spying, google?
Brian trying lifting up the burner tops and actually making sure things are clean. That would be my guess as to why the burner isn't cooking evenly besides maybe the pan not being centered on it when you actively use it. Which when pausing the video it looks like you could easily be off center aka the pan is to far back compared to the burner and thus all the heat is towards the front aka your hotspot there.