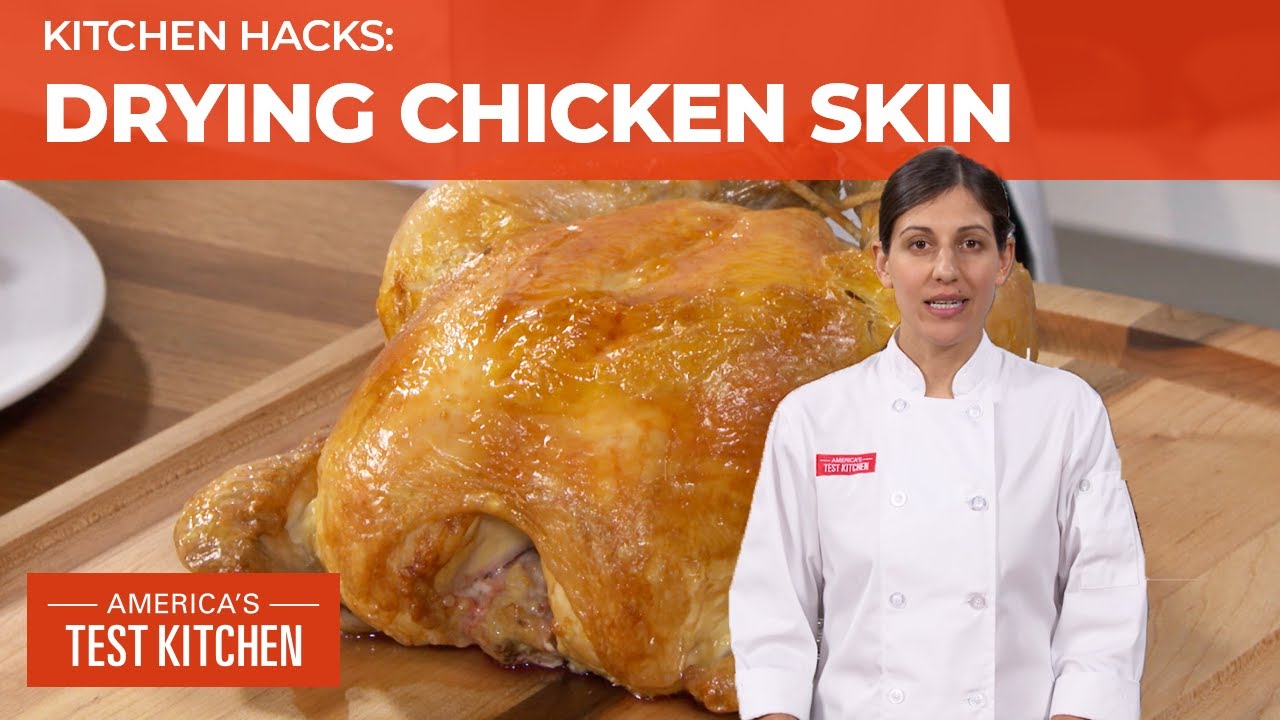
The Best Hack for Quickly Drying Chicken Skin

Never thought you’d use a hair dryer in the kitchen? We’ve got one reason to put it to use.
ABOUT US: Located in Boston’s Seaport District in the historic Innovation and Design Building, America’s Test Kitchen features 15,000 square feet of kitchen space including multiple photography and video studios. It is the home of Cook’s Illustrated magazine and Cook’s Country magazine and is the workday destination for more than 60 test cooks, editors, and cookware specialists. Our mission is to test recipes over and over again until we understand how and why they work and until we arrive at the best version.
If you like us, follow us:


This is the least confident presentation I've ever seen on this channel
Does BAKING SODA rubbed into the skin also achieve this by raising the pH? I believe I read this in a food blog. The tip was shared in a recipe for baked “fried” chicken to allow the skin to crisp up in the oven.
Ah, great another use for my kitchen hair dryer.
This is a genius hack. Getting the skin crispy without drying out the breast is the challenge. Thank you!
You’re not supposed to wash raw chicken because it can aerosolize the bad germs into the air. I don’t know if this is a good idea either.
Ok I will give it a try. I like crispy skin on a baked chicken.
My first thought when I saw the title was 'use a hairdryer.' I have one I use for drying hobby projects all the time. I had a good laugh when I saw that was the actual hack.
Love these little hacks. Thanks
No oil on the skin after drying?
Yes works well for drying skin but if you want that moist flavorful meat still need to go 24 to 48 hours
Or a heat gun?
I still use some of your previous hacks like cutting the back skin & piercing fatty areas so the fat can drain out, and I've done the baking soda trick for crispier skin too, but it doesn't hurt to add another tool to my belt. I'll test this the next time I toast a chicken😊
I have a counter-intuitive method for doing crispy skin on roasted chicken, adapted from a culinary trick used in Hainanese chicken rice to tighten up the chicken skin (even though in Hainanese chicken rice, the chicken is poached): use a pour-over kettle and pour boiling water over the chicken, to scald the skin, which causes the skin to tighten up. Then, immediately pat it dry. While it is hot from having been scalded, the water evaporates off of the skin quite rapidly.
Scalding the skin modestly pre-cooks the skin so that fat renders out better once you roast the bird. If you can steam-scald the chicken, even better. The results are also more aesthetically pleasing.
Scalding the skin is part of my no-string trussing method. Instead of trussing the chicken with string, I poke holes in the flaps of skin around the body cavity opening toward the tail end, and tuck the ends of the legs through the hole on the opposite flap, as shown in this video where I learned this trick from: https://youtu.be/zKU15a1WRJY?t=72
Then, I jiujitsu the wings into that painful looking twisted position where the tips are behind the back, and I scald the chicken front-and-back and immediately pat it dry. The skin tightens up like shrink wrap, and the chicken holds together in a compact and structurally integral shape better than any string based truss, and looks better once it's roasted too. After that, I oil the bird, poke tiny holes in the skin to let the fat render out better and apply surface seasoning.
Try this and compare it to your other methods, both in appearance and finished texture of the skin after roasting.
Gee. I would think putting it in a hot oven would do the same ting in a couple minutes. My skin is always crisp
Short and sweet ! Nice video ! Perfect for the cook that bought that fresh chicken the same day they want to cook it ! Brava ! Sometimes I don't have the option of seasoning my bird and drying it out overnight . It won't taste as good , but it will get it done . Thank you !
Pouring hot or boiling water works better and faster.
What about a curling iron?
Do this in private. You do not want to be seen by anyone when you are using a hairdryer on a chicken. Trust me on this, and your life will be less stressful.
My wife owns a curling iron but no hair dryer. Will it still work?
🤦🏻♂️
Lots of comments unclear of the concept. The moisture in the skin needs to be out before putting the chicken in the oven. It steams during the cooking process. That is what an 'air-cooled' chicken is all about. The fridge is a dehydrating environment so it works perfect; except for the time needed. The salt brings that moisture to the surface and allows it to be patted off. The gentle (sic) heat from a hair dryer pulls more moisture from the surface of the skin. Rub with a fat, season and roast.
But I am bald
Great, now I just need to be on the look out for Lisa's Hair Dryer equipment review.
Great, now I can use a hair dryer to do somtehing that the…oven…does………… guys…really…
I just sprinkle the chicken skin lightly with paprika and rub it in before baking.
Brown crisp skin every time.